Check Out These 3 Thanksgiving Recipes from Hawaiʻi Chefs
From a scalloped ʻulu plate to the perfect sous video turkey, here are three recipes that will keep it Hawaiʻi-style at your next Thanksgiving dinner.
Try something a little different from the traditional holiday menus with one or more of these recipes from Hawai‘i chefs. Be bold and try a new cooking technique with the sous vide turkey recipe from Red Salt’s Chef Noelani Planas or incorporate local produce into your side dishes with the scalloped ‘ulu recipe from Dana Shapiro at Hawai‘i ‘Ulu Co-op. Either way, dinner will be tasty and memorable with any of these three recipes.
Scalloped ‘Ulu from Hawai‘i ‘Ulu Co-Op

Scalloped ʻulu.
Photo: Courtesy of Hawaiʻi ʻUlu Co-Op
It’s easy to incorporate this canoe plant staple into a meal using ‘ulu (breadfruit) either from your own tree or from the recipe ready packages that Hawai‘i ‘Ulu Co-op sells across the islands. This recipe was created by general manager Dana Shapiro; most of the Co-op’s staff love to cook, and they all took it upon themselves to experiment with ways to creatively incorporate ‘ulu and other Hawaiian staples into their daily diets. This recipe illustrates how easily mature ‘ulu can be used to substitute for any holiday dish that calls for potatoes.
Ingredients
- 24 oz. recipe ready ʻulu ( or 5 cups fresh sliced)
- 1.5 cups heavy cream
- 1.5 cups half-and-half cream
- 1 tsp butter
- 1 large clove of garlic, pressed
- Salt
- Ground white pepper
- 1 bay leaf
- 1 cup grated Swiss cheese (or as much as desired)
Directions
- In a saucepan or cast iron pan, pour heavy cream and half-and-half. Add garlic, 1/2 teaspoon of salt, several grinds of pepper and a bay leaf. Use a heavy-bottomed stainless or enameled saucepan.
- Slice the ʻulu into 1/8 inch even slices and drop them into the cream. Add more cream if necessary to cover the ʻulu slices by 1/2 inch.
- Preliminary cooking—Bring the mixture to just below the simmer and maintain it at this temperature until the ʻulu slices become perfectly tender. This takes about 1 hour for fresh ʻulu or 30 minutes for recipe-ready ʻulu. Check frequently to avoid bubbling or curdling of the cream, and ensure that the ʻulu is not sticking or scorching at the bottom of the pan.
- When the ʻulu slices become tender, add more salt and pepper to taste. Then transfer the mixture to a buttered baking and serving dish. If using a cast iron pan you do not need to transfer.
- Spread grated Swiss cheese on top of the mixture. You can prepare the dish to this point several hours in advance. Cool and cover it in the refrigerator.
- Final baking—Preheat your oven to 425F. Before serving, put the baking/serving dish in the upper middle level of the oven and bake it for about 20 minutes until it becomes bubbling hot and lightly browned on top. Be careful not to overcook, as this will make the ʻulu dry instead of creamy.
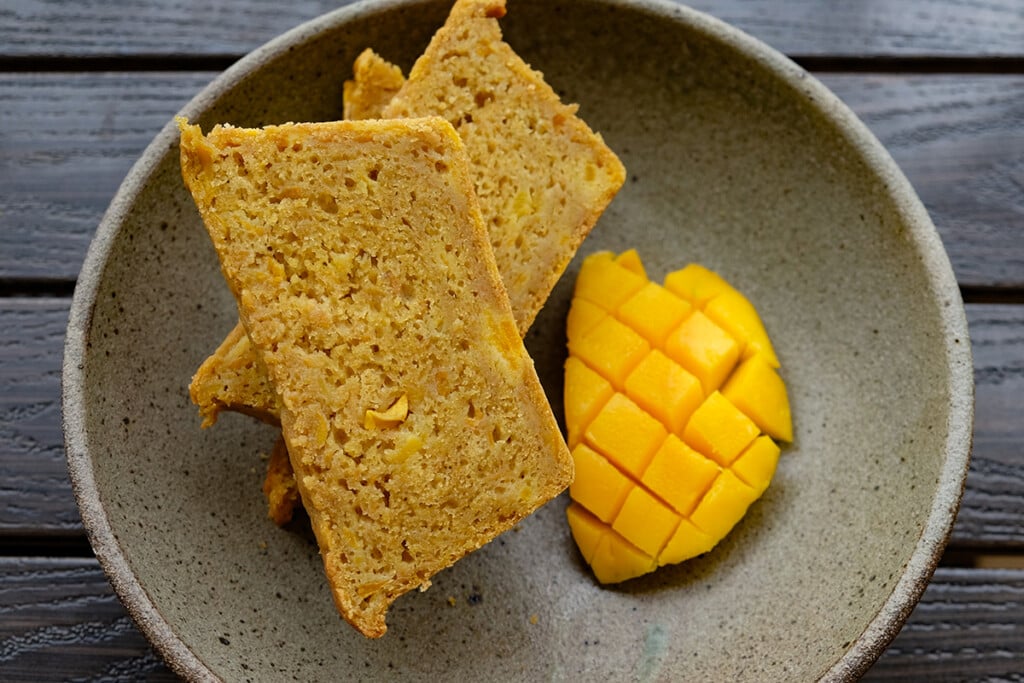
Taro Rolls from Keeping it Relle

Taro rolls.
Photo: Courtesy of Relle Lum
Maui’s favorite home cook, Relle Lum, features recipes on her website that are easy and accessible, all with a local spin that helps to elevate Hawaiian ingredients. These gorgeous taro rolls will brighten up any holiday table with their vibrant purple hue—and they’re super easy to make and impressive to serve. Be sure to find Lum on social media for videos, walking you through all of the steps to create some of her favorite recipes.
Ingredients
- 4 cups bread flour
- 1 cup sugar
- 2 ¼ teaspoons instant yeast
- ½ teaspoon salt
- ½ cup warm milk
- 1 cup poi
- 1 egg
- 1/2 cup butter softened
- 1 tsp purple food coloring
Directions
- Prepare the dough: To a large bowl add flour, sugar, and yeast. Mix until well combined and set aside.
- To the bowl of a stand mixer add ¼ cup milk, poi, egg and butter. Using the paddle attachment mix until well combined. Then add purple food coloring and mix until the color is mixed through.
- Remove the paddle attachment and replace with the dough hook.
- Next add the flour mixture in sections. Mix until well combined. Slowly add the remainder of the milk mixture as needed. This will largely vary depending on the brand of poi and the humidity.
- Knead the dough: Mix on medium speed for 10 minutes or until the dough is smooth. This is a wet dough. You can tell the mixture is done when you can touch the dough with clean hands and the dough does not stick to your fingers.
- Shape the dough: Once the dough has been thoroughly mixed, divide the dough into 15 pieces. Form a smooth ball with each piece of dough.
- Allow to rise: Spray a 9×13 baking dish with non-stick cooking spray or grease with butter or oil. Place the dough in 5 rows of 3. Cover with a dish towel and allow to rise until doubled in size. This will vary depending on the temperature and humidity.
- Preheat the oven to 325F.
- Bake the rolls: Once the dough has doubled, bake for 20-25 minutes or until the tops of the bread just begin to brown.
- Allow to cool slightly and enjoy.
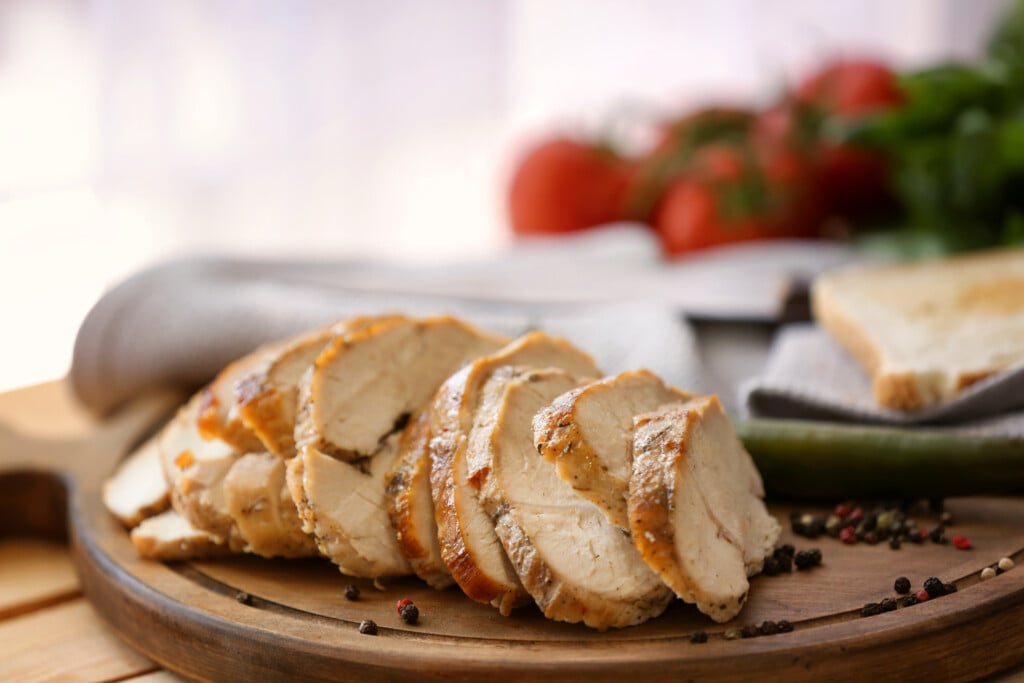
Sous Vide Turkey from Red Salt Restaurant
If you find yourself without use of an oven this holiday season, or if you want to try something new to get a really juicy turkey, this recipe is for you. Chef Noelani Planas from Red Salt Restaurant at Ko‘a Kea Resort provided this recipe, her favorite way to cook turkey. “Every Thanksgiving, my preferred method for cooking turkey is using a sous vide technique—it’s the only way I’ll cook it! The traditional oven method tends to leave the turkey dry and can lack excitement. Deep frying is another option, but sous vide is my absolute favorite way to prepare this holiday staple since it maintains flavor and keeps the meat moist.”
Need to take a break from holiday cooking? Chef Noelani is hosting a Pa‘ina Dinner Party on December 15 with a five-course prix fixe menu features traditional Hawaiian dishes, curated wine pairings, live entertainment and oceanfront views. Kamaʻāina can also take 15% off.
Ingredients
- 1 large whole skin-on, bone-in turkey breast (about 5 pounds; 2.2kg)
- Kosher salt and freshly ground black pepper
- For the gravy:
- 1 tablespoon (15ml) vegetable oil
- 1 large onion, roughly chopped
- 1 large carrot, peeled and roughly chopped
- 2 ribs celery, roughly chopped
- 1 1/2 quarts (1.4L) homemade or store-bought low-sodium chicken stock
- 2 bay leaves
- 1 teaspoon (5ml) soy sauce
- 3 tablespoons (45g) unsalted butter
- 1/4 cup (40g) all-purpose flour
Directions
- Carefully remove turkey skin in a single piece and set aside. Using a sharp boning knife, remove breast meat from breastbone. Set breastbone aside. Season turkey generously with salt and pepper on all sides. Place 1 breast half, cut side facing up, on a work surface. Place second breast half facedown, so the fat end aligns with the skinny end of the first breast half. Gently form into an even cylinder.
- Tie turkey breast at 1-inch intervals using butcher’s twine. Transfer to a zipper-lock bag. Turkey can be refrigerated for up to 5 days before proceeding.
- Heat a sous vide water bath to 145°F (63°C). With bag open, slowly lower bagged turkey into water, letting water pressure squeeze air out of bag until just the seal remains above the waterline. Seal bag completely. Let turkey cook for 2 1/2 hours. Meanwhile, make the crispy skin and gravy.
- For the Crispy Skin: Adjust oven rack to center position and preheat oven to 400°F (200°C). Spread skin evenly over a piece of parchment paper set in a rimmed baking sheet. Season generously with salt and pepper. Place a second sheet of parchment on top and carefully squeeze out any air bubbles using the side of your hand. Place a second rimmed baking sheet on top and transfer to oven.
- Roast until skin is deep brown and crispy (it will crisp further on cooling), 30 to 45 minutes. Allow to cool and set aside at room temperature. Turkey skin can be roasted in advance, cooled completely, then stored loosely covered at room temperature for up to 3 days. To re-crisp, place in a hot oven for a few minutes just before serving.
By spreading the skin out flat on a sheet of parchment, seasoning it well, topping it with another sheet of parchment, then sandwiching it between two rimmed baking sheets, you can roast it in a conventional oven. What you end up with is a single flat sheet of perfectly crisp skin that can shatter into serving-sized shards.
Directions For the Gravy:
- Using a cleaver, chop breastbone into 1-inch chunks.
- In a medium saucepan over high heat, heat oil until smoking.
- Add breastbone, onion, carrot, and celery and cook, stirring occasionally, until well browned, about 10 minutes total.
- Add stock, bay leaves and soy sauce. Bring to a boil, then reduce to a simmer.
- Simmer for 1 hour, then strain through a fine-mesh strainer. You should have a little over 1 quart (900ml) of fortified stock; if not, add water or more chicken stock to equal 1 quart.
- Discard solids and set stock aside.
Finish
- In a medium saucepan over medium heat, melt butter. Add flour and cook, stirring constantly, until golden brown, about 3 minutes. Whisking constantly, add fortified broth in a thin, steady stream. Bring to a boil, reduce to a simmer, and cook until thickened and reduced to about 3 cups (720ml). Season to taste with salt and pepper. Keep warm.
- When turkey is cooked, remove from water bath and unseal bag. Carefully remove butcher’s twine. Cut into 1/4- to 1/2-inch slices for serving. Fan slices out on a warmed serving platter or cutting board. Break skin into serving-sized pieces and add to platter, along with a pitcher of gravy. Serve immediately.
The cooked turkey can be chilled in an ice bath and stored in the refrigerator for up to a week. Reheat it in a 130°F (55°C) water bath for about an hour before serving.
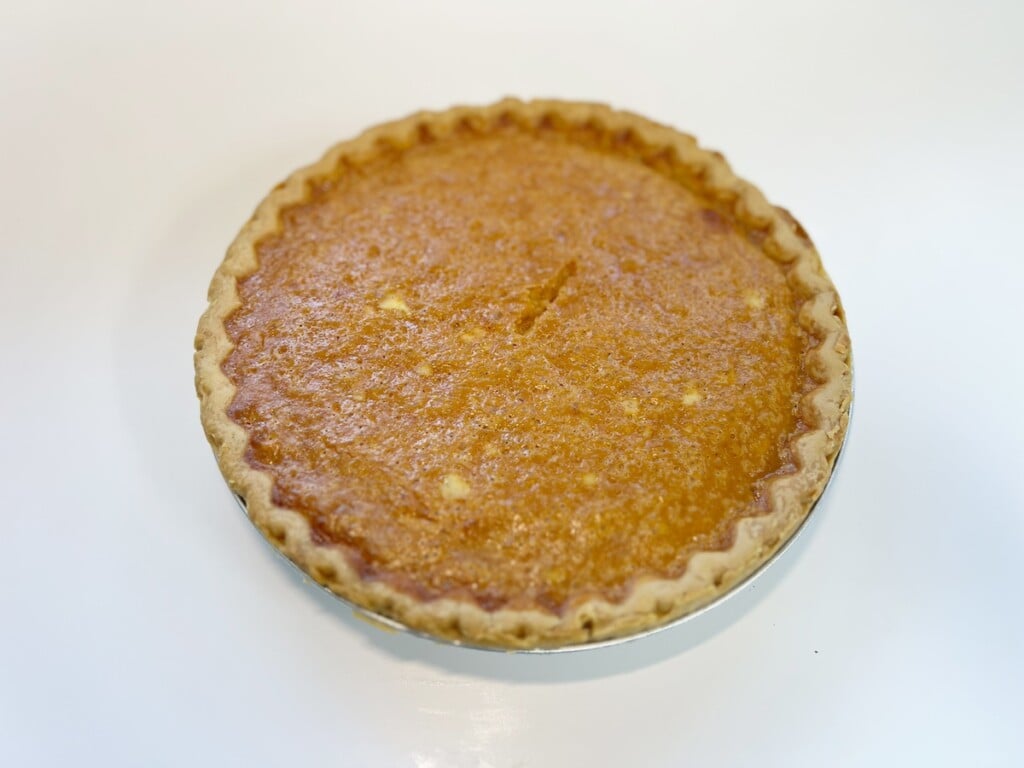
And if you’re looking for the perfect dessert recipe to top off your Thanksgiving feast, this Hawaiʻi-style pumpkin crunch cake will do the job.