5 Tips for Hiking Mini Crouching Lion From an Expert Hiker
We spoke to our January/February issue's cover photographer about tips for reaching it and how to best capture the view.
Photographer and hiking enthusiast, Mike Karas, knows a thing or two about this scenic, out-and-back hike to Crouching Lion. Why do so many love it?
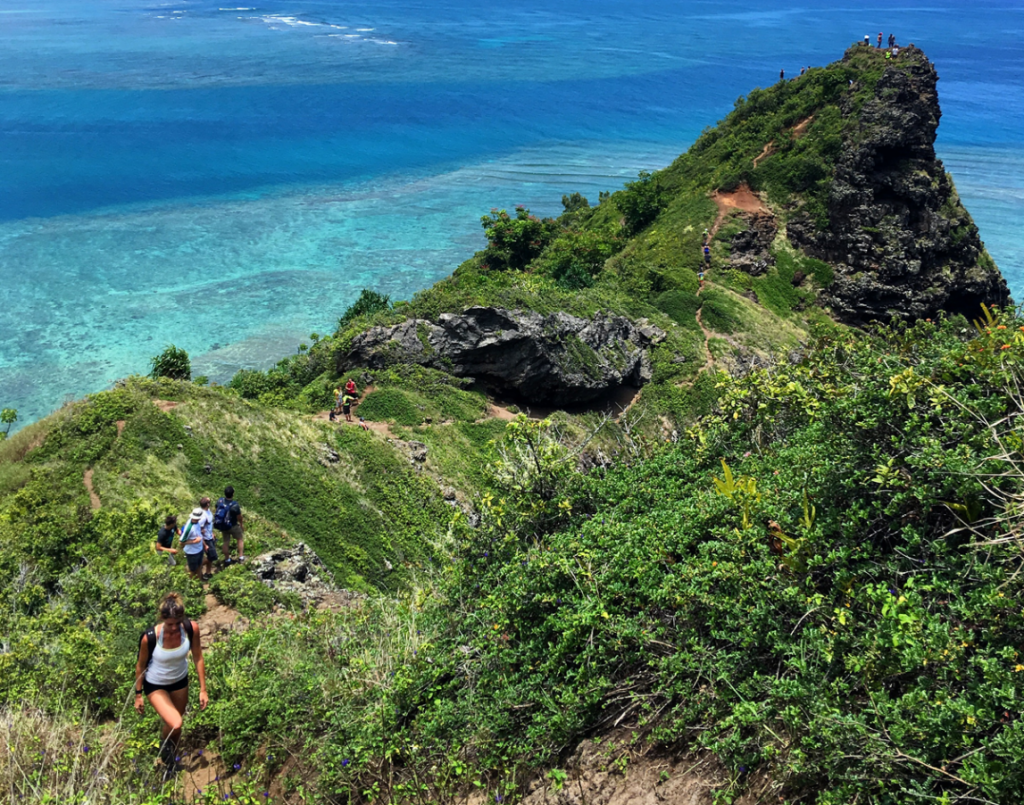
The hike is “doable for novices, average hikers and people who have hiked a little bit before,” Karas says. “Most fitness levels could manage the effort and hike up.” Located on Oahu’s windward side, it’s a relatively quick jaunt (50 to 60 minutes round-trip) with a big reward: a splendid display of Kaaawa’s mountainside, sparkling Kahana Bay and the Pacific Ocean. A vista so gorgeous it made our January/February cover of HAWAIʻI Magazine.
Here are a few things you should know before you (and your camera) go:
1. Go on a drier and sunnier day.
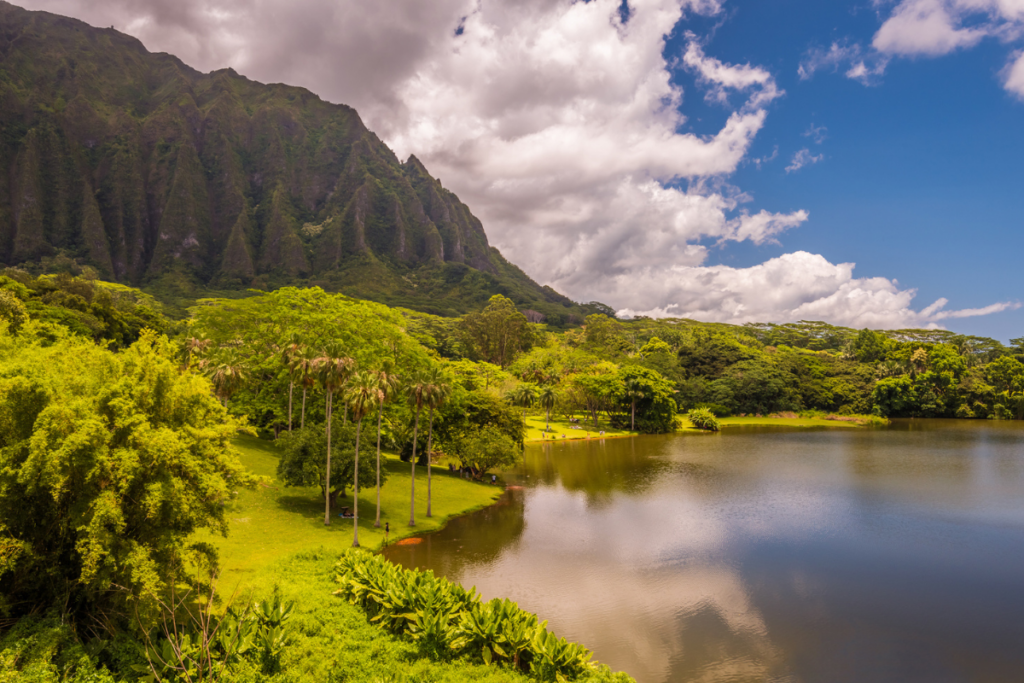
Not only does it make this hike that much easier (muddy trails just aren’t fun when a hike involves an incline like this one), the color of the water in the bay looks way more vivid, especially if you’re hiking here with the intention of photographing Kahana Bay. “It’s a beautiful spot,” says Karas. “You got the reef on the inside, and outside the bay, the different shades of blue in the water with an almost 360-degree view.”
2. You won’t regret going earlier rather than later.
For a trail on the east side, it’s a prime sunrise hike. “For the photo on the cover of HAWAIʻI Magazine, I shot that in the late morning,” he says. “It was about 10:30 a.m.” Anything past noon and you’re dealing with the day’s harshest light, beaming down from right over head, which isn’t exactly a photographer’s best friend.
That said, don’t rule out sunset either. Karas has gotten a few great shots there, too.
3. Bring water (you’ll actually need more than you think).
While it may only take 30 minutes to reach this mini summit (Karas says he can do it in about 15, solo), the trail gains elevation quickly and you’ll surely find yourself sweating as you continue toward Crouching Lion.
“As far as difficulty, the length of the hike is short, but you will get a little workout heading up with the elevation gain,” says Karas. “Just be careful, know your limits and it’s always good to go with someone.”
4. Microspikes are your friend.
“Especially for ridge trails,” says Karas, “but just in general, really. When I did Crouching Lion a couple weekends before, it was raining lightly and this time we were glad that we had them. It makes a big difference.”
If you’re in the market for a new pair, Karas suggests Hillsound FreeSteps 6 through local distributor Hike Spikes Hawaii. “They’re awesome for most trails, will run you about $40 to $50, and come with a two-year warranty.”
5. Be cautious around the summit.
As you reach your destination and take in those exhilarating Kahana Bay views, remember to keep a watchful eye. “Be very careful when walking around the mini summit due to drop offs,” Karas warns.
And, if you decide to continue past the mini summit, the trail becomes extremely more precarious, a trek for “advanced and experienced hikers only.” This trail is the beginning leg of a much longer, intense and dangerous hike, known as Puu Manamana. It’s a non-state sanctioned portion of the trail that only very confident individuals should attempt to traverse and it’s not recommended for casual hikers. Again, use your best judgement.
6. Use your best judgement for street parking.
Going north on Kamehameha Highway, about one-third of a mile past the Crouching Lion Inn, you’ll find street parking along the entrance to the trail. “Be mindful of cars, and just walk across the street,” says Karas. “Don’t leave valuables in your car.” And, whatever you do, do not park on Trout Farm Road, as tempting as it may be. It’s a private road and you will be towed.
If you want to know how Crouching Lion got its nickname, check out our article, “8 Awesome Land Formations You Love in Hawaii, Explained”.